| Assembly
3 of your 2x4's are for legs. One 2x4 needs saved
for the arm.
Start by cutting 4 two foot long base legs
from your 2x4's.
Cut 2 three foot leg uprights and 2 two foot 10
inch leg uprights.
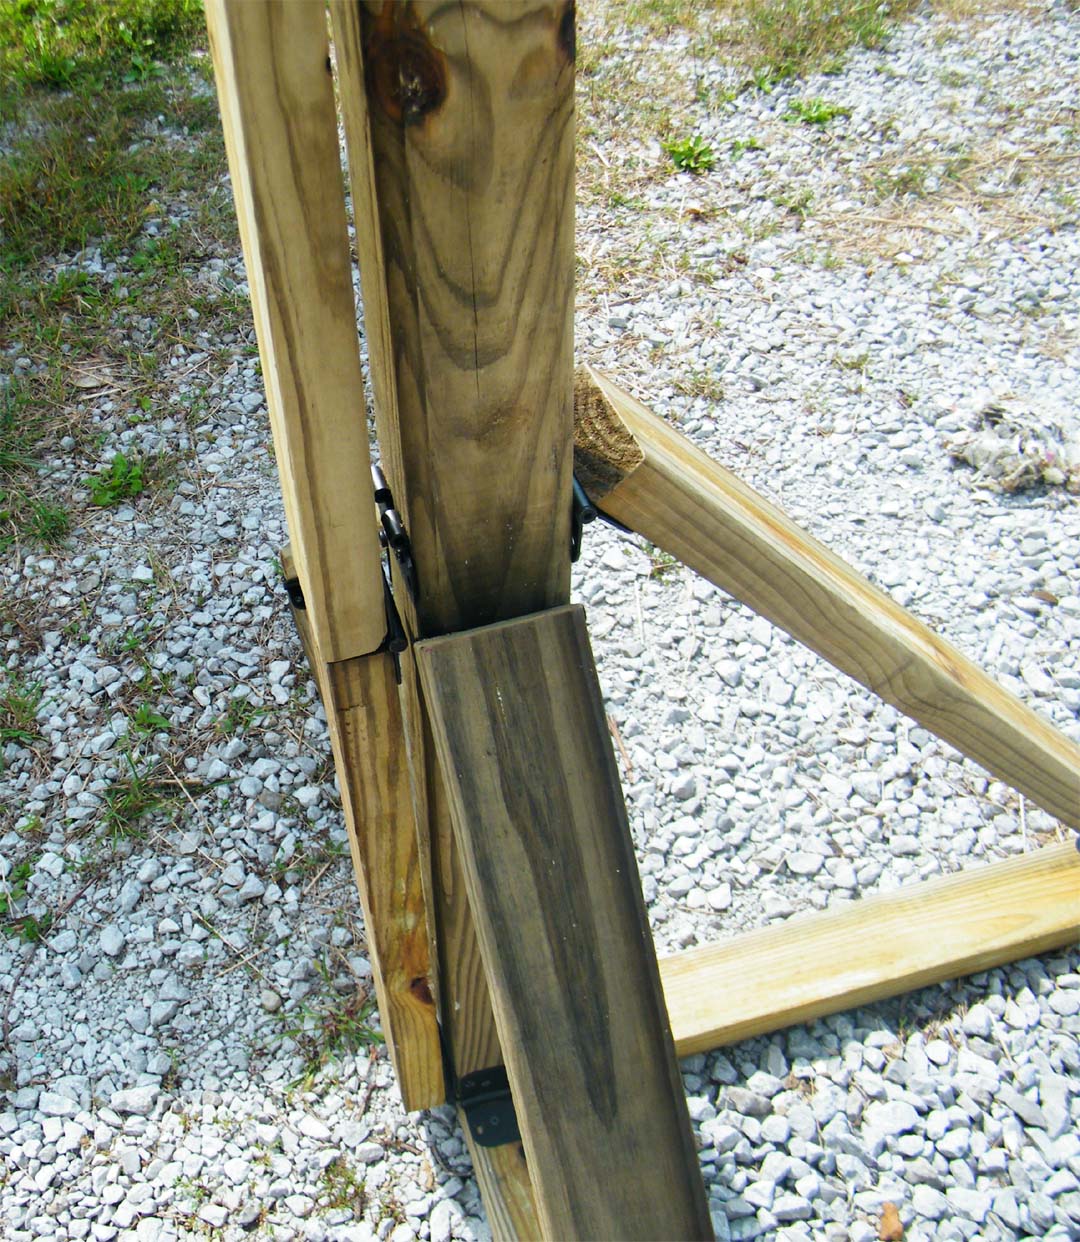
Lay one of the 2 foot base legs on the 4x4 at the
base and attach it with its hinge. I used another piece of wood to
simulate it sitting on the ground as I attached that hinge.
Work the hinge forward and back before putting all screws in
to make sure its straight. Now I had drilled 2 extra holes in each
hinge and didn't use the holes at the edge of the hinge since I
thought they might split the 4 x4 since they end up near the edge.
You might want to use more expensive smaller hinges if you don't
want to drill these extra holes in all 12 hinges.

Attach the 3 foot upright to the end of the 2 foot base leg.
Again work the 3 foot piece through the full movement and straightening
before putting in more than one screw in each side of
hinge.

Line up the other end of the 3 foot upright against the 4x4 and
mark holes for hinge. Take the pin out of the last hinge you
put in so you can now attach the last hinge for this
leg. You should have one of the 4 legs done.
The reason we used 3 hinges is so you can remove the pin on the
top hinge of that leg (and on the others when done) and the whole
leg will lay flat against the post for travel like this
Repeat the above for the leg on the opposite side of the 4x4.
For the two other legs you will use the same leg build as above
but you will use the 2 two foot 10 inch leg uprights
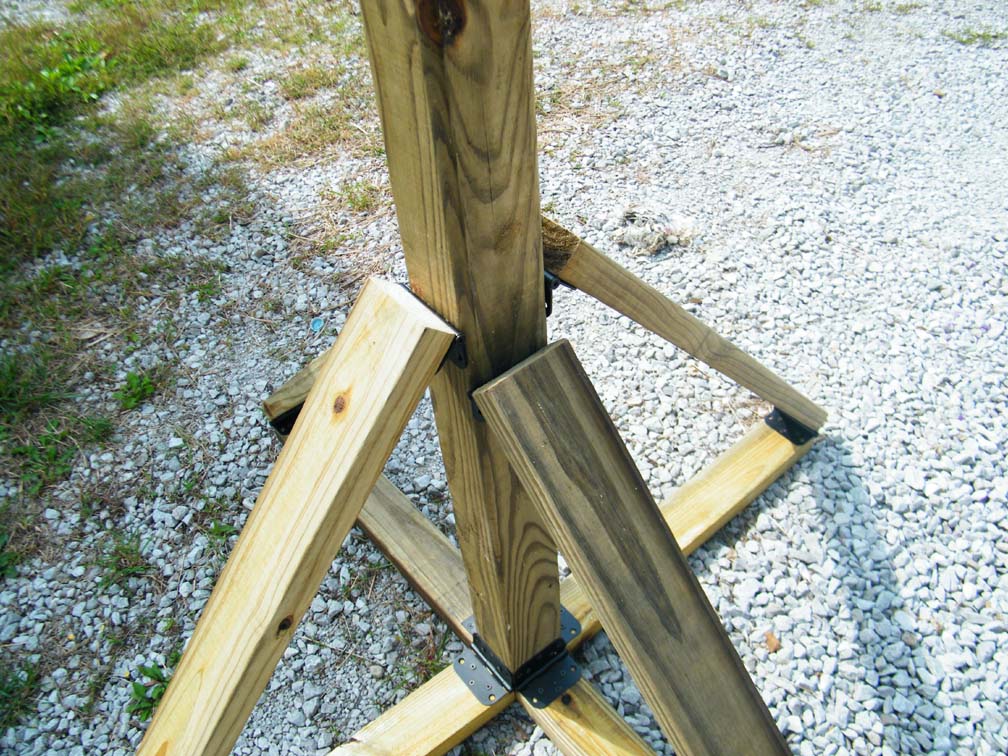
with your remaining two 2 foot 2x4 pieces. Note -when you go
to put the 4th legs base hinge on you will notice there isn't room
for that last hinge if you use the same gatehouse hinges I used. you
can either cut part of the last hinges edge off or do what I did.
Buy one more slightly smaller gatehouse hinge.
The reason these other two last legs are just a little
shorter than the other two 3 foot uprights is so the legs four
uprights don't meet at the same spot on the 4x4 upright. This leaves
you room for all 4 hinges and room to remove the hinge pins later
for break down.
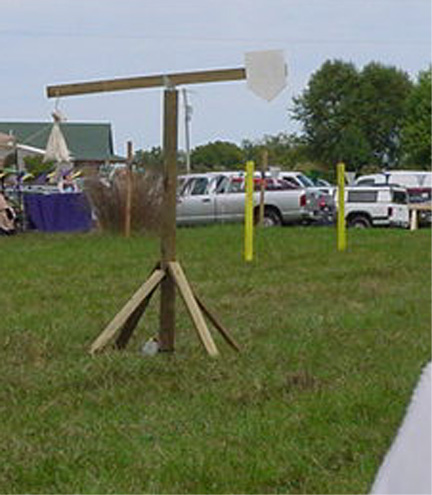
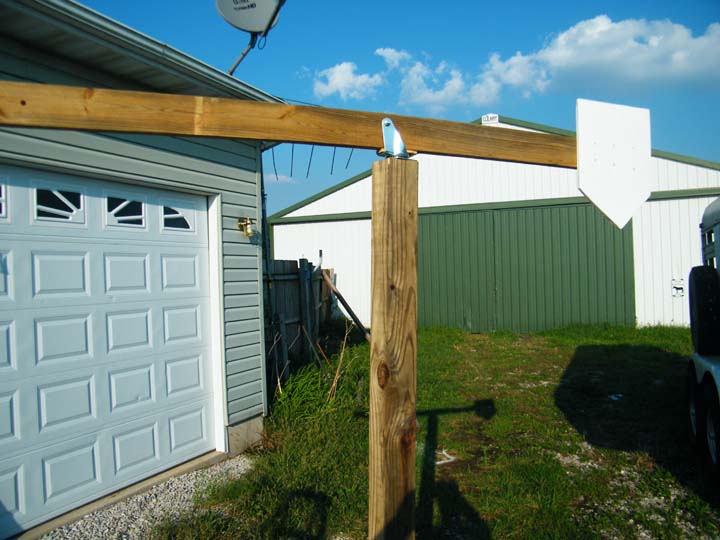
I cut my 4x4 upright at 7 foot figuring that is about where a
shield on a horse rider would roughly be.
Now grab your wheel.
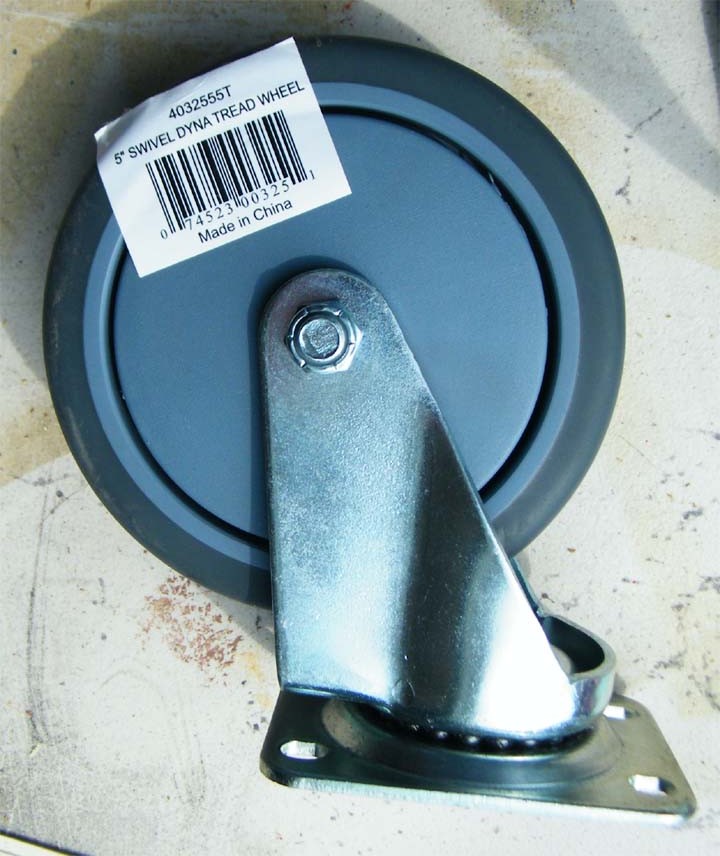
Remove the nut that holds the wheel in. We want the swivel arm
and the bolt and nut. The wheel we wont need again.
Lay your last 2x4 in the space the wheel was. See how that fits
and mark and drill some holes for screws. We will re-use the bolt
and nut to help hold the arm in place but the screws are still
needed. I then took a scrap piece of plywood and drew a
small shield and attached it to one end of the plywood. Wasn't
sure what size the shield should be so I went with a small shield figuring
I wanted a challenge not a easy target. I measured and cut
my boom arm to be 6 foot long. I wanted the arm to be a little
longer than the base. I measured to the center of the 6 foot
and mounted the swivel arm at the center of my 6 foot 2x4. I
then drilled a hole in the other end of the 2x4 (end opposite the
shield). Hole is for the rope later.
I then screwed that swivel base with lag bolts into the top
of my 4x4 upright.
I then took the bag the wife made from the rough fabric and put
some small gravel in it and hung it from the rope.
After using this the first time I now plan to half the size of this
bag.

It occurred to me after to drill a hole in each of the bases of
the legs for a pin to stake this to the ground.

|